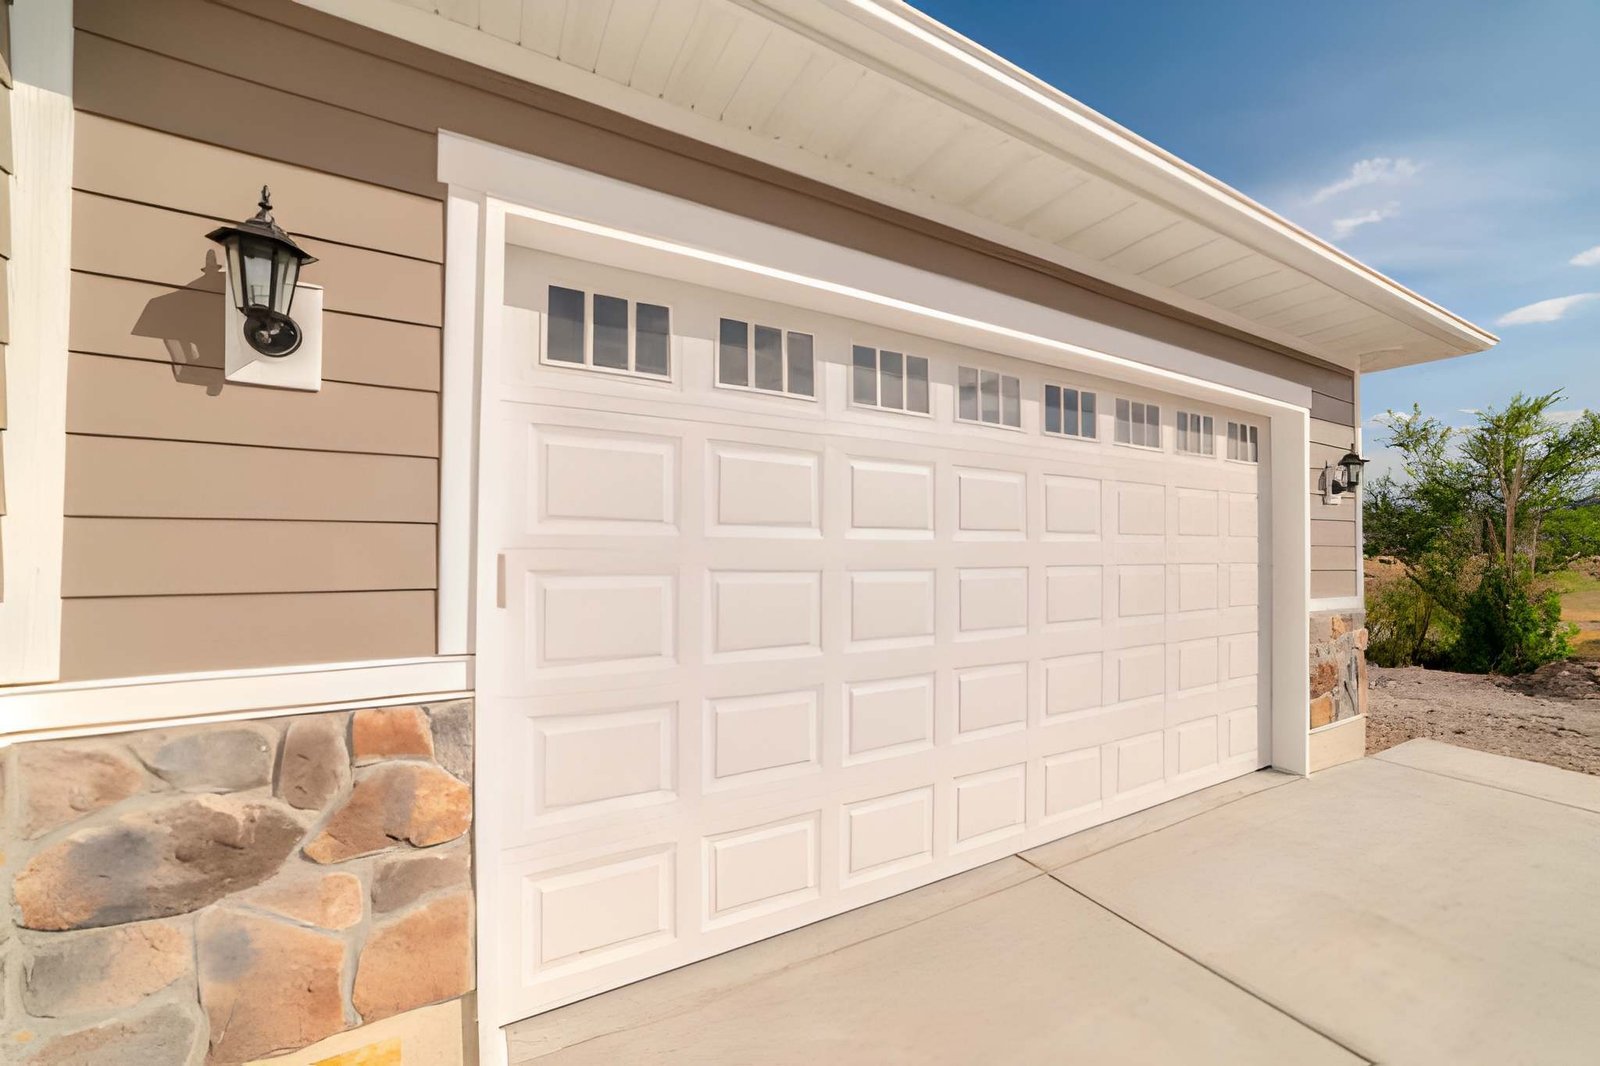
Most people watch a garage door being installed exactly once, which makes it very hard to judge whether corners are being cut while it happens. Here is what a properly done installation actually looks like, step by step.
1. Measure and specify (before the day)
Width and height of the opening, headroom above it, side room either side, and how far back the garage runs. Those five figures decide which track configuration is even possible. Any door quoted without somebody taking them is a guess dressed up as a price.
2. Remove the old door safely
The first job is winding the spring tension down under control. Anyone cutting cables or pulling brackets off a door that is still tensioned is doing something genuinely dangerous, and it is the clearest sign you have the wrong people in your garage.
3. Fit the tracks and check plumb
Vertical tracks want to be plumb, horizontal tracks level, and the spacing between them consistent the whole way. This is the stage where a rushed installation hides itself, because the consequence does not show up for a year and then arrives as binding and chewed-up rollers.
4. Stack the sections and fit hardware
Sections go in from the floor upwards, with hinges and rollers going on as each one lands. The bottom bracket is the one that ends up under full spring load once tension goes on, which is why it is the one fixing on the door nobody should ever be casual about.
5. Springs sized to the actual door
This is the part that matters most and is seen least. Springs are specified against the actual weight of the door and the drum size it runs on — not picked from what happens to be in the van.
The commonest shortcut on a new install is reusing whatever spring is on the van. A mis-sized spring gives you a door that never balances properly and wears out early.
Max Quality Garage Door technicians
6. Balance, then the opener
The door has to balance by hand before the Garage Door Opener goes anywhere near it. Only then do travel limits and force settings get dialled in, and both safety systems tested against an actual obstruction rather than assumed to work.
Before the installer leaves, check
- The door balances by hand at waist height with the Garage Door Opener disconnected.
- Both auto-reverse tests pass — sensors and mechanical.
- The wind-load label is present and matches your address requirement.
- Seals are fitted all round and the door closes flush.
- You have the paperwork: warranty, spring cycle rating, and the permit if one was required.
What actually matters when you are choosing
A garage door is often a third of everything you see from the street, which makes it a design decision. It is also the largest opening in the building, which makes it a structural one. Both halves matter and people usually only think about the first.
In Connecticut the structural half is not optional: the design wind speed assigned to your address determines what the door has to be rated for, and shoreline addresses carry more than inland ones. After that it comes down to insulation, which matters far more on an attached garage than a detached one, and to material — steel for almost everyone, wood only if you genuinely intend to maintain it.
Where the money actually goes
Two quotes for what looks like the same job can differ by a surprising amount, and it is rarely the labour that separates them. Fitting a cheap spring and fitting a good one take the same hour.
The difference is almost always the parts. A spring rated for ten thousand cycles and one rated for thirty thousand cost very different money and last very differently — on a busy family door, that is the gap between seven years and twenty. The other half is what gets included: whether the cables, drums and bearings are replaced alongside, or left in place to fail next.
What we go through before quoting
A price given over the phone for a door is a guess. These are the things that actually decide what you can fit and what it costs:
- Opening width and height, plus headroom above and side room either side — these decide which track configuration is even possible.
- The design wind speed at your address specifically. Shoreline towns carry higher pressures than the inland hills, and it changes what is allowed.
- Whether the garage is attached, and what sits above or beside it. That drives the insulation decision more than personal preference does.
- The condition of the existing framing and floor. A slab that has settled changes how the door will seal.
- How the door is actually used — a door cycled eight times a day needs different springs from one used twice.
Storms, and the largest opening in the house
Nor'easters bring sustained wind off the water and heavy wet snow, and the garage door is the biggest single opening in most houses. Structural engineers are blunt about the consequence: once the door goes, wind is inside the building and pressure starts working against the roof from underneath. It is the one part of the house where a maintenance problem can turn structural.
The twenty minutes that prevents most call-outs
Take a socket set to every hinge, bracket and track bolt on the door. Firm, not over-tight. A year of vibration works them loose, and loose fixings are where rattles, misalignment and eventually track damage all begin.
Then lubricate properly: hinge pivots, roller stems, spring coils and end bearings. Never the track — rollers are meant to roll along it, and a greased track just collects grit and grinds it into the rollers.
What people get wrong about springs
Replacing one of a pair. They are the same age and have done the same work, so the survivor is already most of the way through its life. Replacing singly buys you a second call-out within months and a door that is unbalanced in the meantime.
The practical upshot
Two services a year, a light spray on the moving parts, and a thirty-second balance test now and then. That is genuinely most of it.
Doors that get that treatment last decades. Doors that get nothing until something snaps do not, and the difference in cost over a door's life is considerable.
We cover 74 Connecticut towns, usually same day.